In This Guide:
Related Guides:
Compliance
SecureDocOne and SecureDocOne Plus
What is SecureDocOne and SecureDocOne Plus?
SecureDocOne
An automatic archival service for documents generated in RouteOne. It helps dealers keep track of their paperwork and comply with recordkeeping requirements.
Dealers subscribed to SecureDocOne can use the service to store many types of documents, including:
- Credit applications
- Finance Source Decision Details
- Credit Reports
- Adverse Action Notices
- Credit Score Disclosure Notices (including eSignatures for dealers utilizing RouteOne’s eSign feature)
- IDOne Summaries
- Privacy Notices (including eSignatures for dealers utilizing RouteOne’s eSign feature)
- Credit Card Terms & Conditions
- eContracts
- eContract Packages – Ancillary Documents
- Mobile Signed Applications
- Dealer Participation Certification Forms
SecureDocOne Plus
Includes all the functionality of SecureDocOne, plus the ability to easily upload and store non-RouteOne-generated documents.
Benefits
SecureDocOne and SecureDocOne Plus ensure that documents generated in RouteOne will be securely stored, helping you keep track of RouteOne documents and facilitating your compliance with your recordkeeping requirements.
Documents generated in RouteOne are automatically stored, ensuring consistency and confidence.
Stored documents are easily searchable within RouteOne by using a number of criteria.
You can also purchase encrypted DVDs with your files at any time.
Upgrading to SecureDocOne Plus has the added benefit of ensuring that your non-RouteOne generated documents can be uploaded and safely stored, eliminating uncertainty about the location or security of the other important documents associated with your deals.
How to Subscribe
There are additional setup and recurring monthly costs for using SecureDocOne and SecureDocOne Plus.
Your Dealer System Administrator (DSA) can quickly and easily complete the subscription process directly in the RouteOne system. Archival of your documents begins the next day.
Learn how to subscribe to SecureDocOne or upgrade to SecureDocOne Plus.
Search for Documents
Hover over the ‘SecureDocOne’ tab in the top navigation, and select ‘Search for Documents’ from the dropdown menu.
Enter your search criteria:
- Search ‘All documents’ or select a Document Type from the drop down.
- Enter the applicant or co-applicant’s information for a specific search.
- To expand your search results, enter at least one character and an asterisk (*) to generate a ‘wildcard search.’
- For example, if you only input ‘Green’ into the Last/Business Name field, results will include all instances with the last name ‘Green.’
- If you input ‘Green*’ into the Last/Business Name field, results will include all instances that begin with ‘Green.’ Results would display for instances of ‘Green,’ as well as ‘Greene,’ ‘Greenfield,’ ‘Greenland,’ etc.
If you enter information into the Contract ID and/or Deal ID fields, only eContracting and self-uploaded documents will be returned in your results.
The Date field searches based on the date the document was created.
Click the ‘Submit’ button.
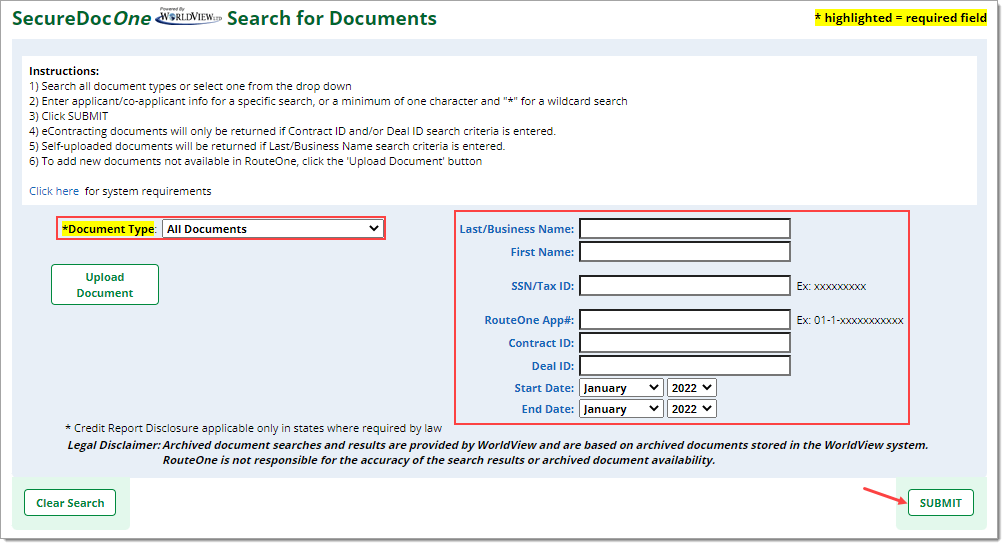
A new window will open with the search results.
If you receive a message that states ‘No documents found’ when searching for a document, close the window and return to your search criteria. Make sure you entered your search criteria in correctly, and that you have selected a date range.
Right click the results list to display the possible actions:
- History: Shows the user that viewed the document and the action they performed.
- Notes: Allows the user to add notes to the document without altering the document.
- Print: Allows the user to print the document.
- Send To: Allows the user to save the file to their computer or send as an email attachment.
- Delete: Allows the user to delete the document.
- Open in New Window: Allows the user to open the document in a new window.
- Create List Report: Allows the user to print the results list.
Double click the document you wish to view. It will appear in the lower window. Right clicking on the document in the lower window brings up a list of Adobe reader functions.
After reviewing your documents and completing any desired actions, close the window to return to the ‘SecureDocOne’ tab within RouteOne.
Upload Documents
For SecureDocOne Plus Subscribers Only
There are several ways to upload documents to SecureDocOne Plus:
- Option 1: From ‘Search for Documents’
- Option 2: From ‘Upload Documents’
- Option 3: From Deal Manager
Option 1: From ‘Search for Documents’
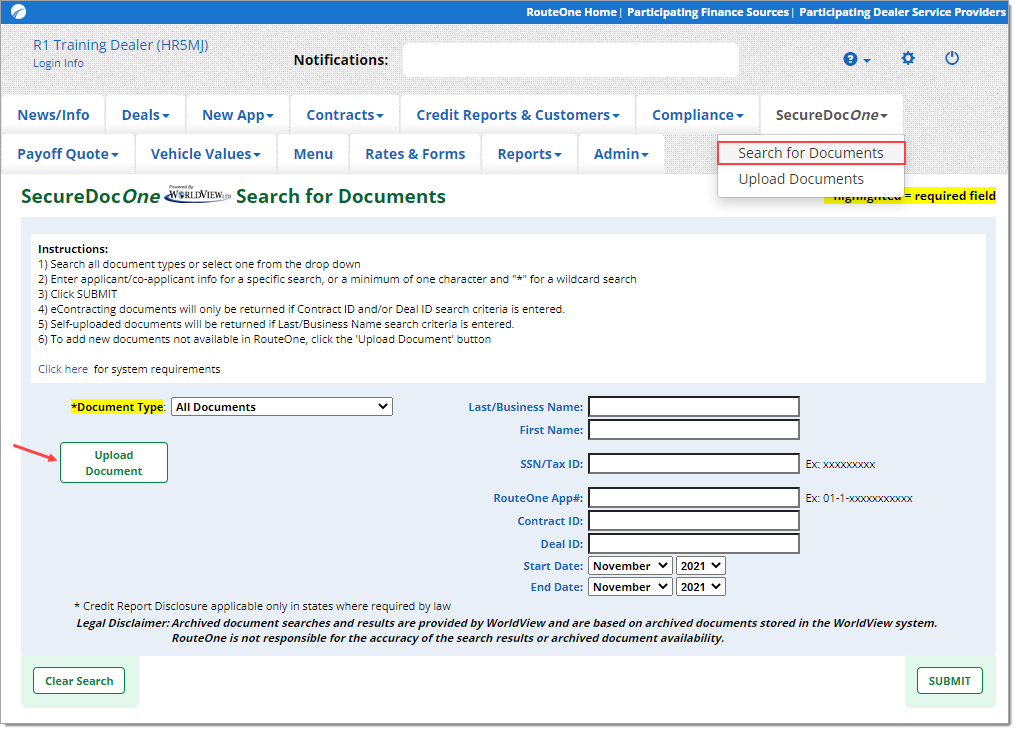
You can upload documents from the ‘Search for Documents’ page.
Hover over the ‘SecureDocOne’ tab in the top navigation, and select ‘Search for Documents’ from the dropdown menu.
Click ‘Upload Document’
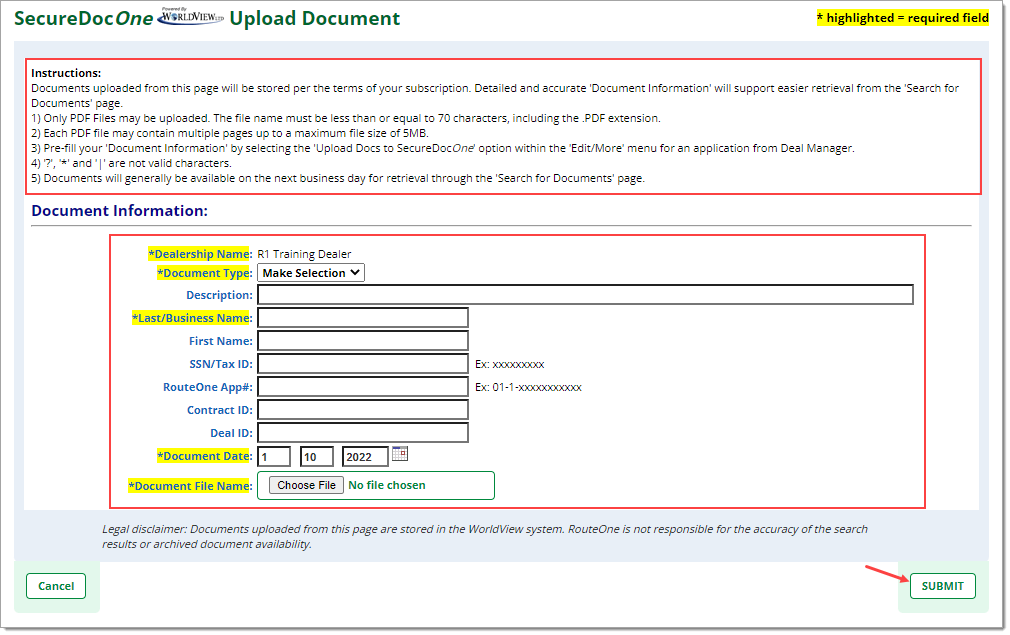
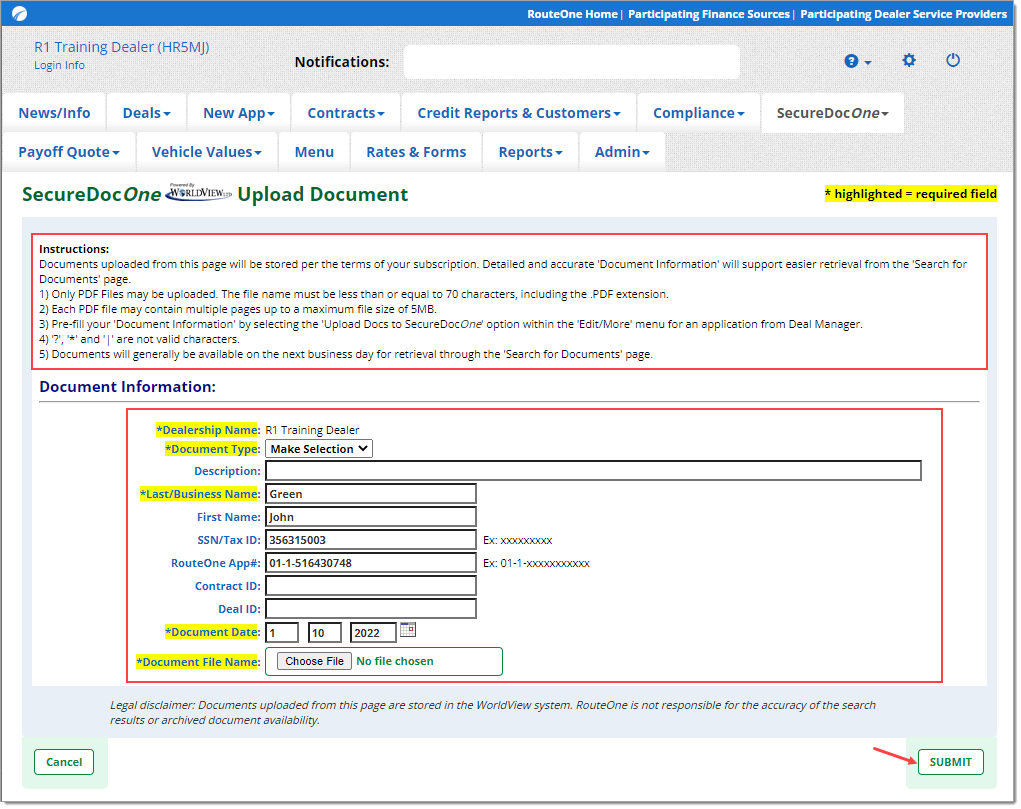
The 'Upload Documents’ page will display. Follow the instructions, input document information, and click ‘Submit.’
Option 2: From ‘Upload Documents’
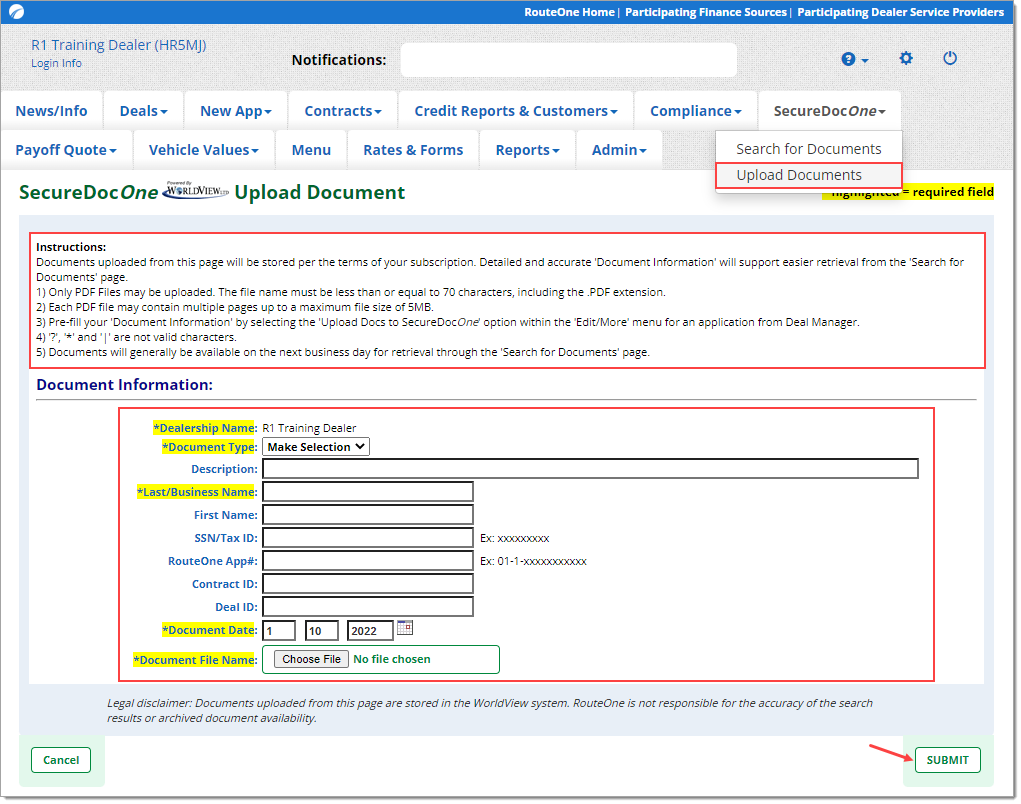
You can upload documents directly from the ‘Upload Documents’ page.
Hover over the ‘SecureDocOne’ tab in the top navigation, and select ‘Upload Documents’ from the dropdown menu.
Follow the instructions, input document information, and click ‘Submit.’
Option 3: From Deal Manager
You can upload documents from Deal Manager.
Hover over the ‘Deals’ tab in the top navigation, and select ‘Deal Manager’ from the dropdown menu.
Within the Deal Manager page, click the ‘Edit/More’ button next to the applicant you would like to upload documents for.
Under the ‘Edit/More’ dropdown, select ‘Upload Docs to SecureDocOne.’
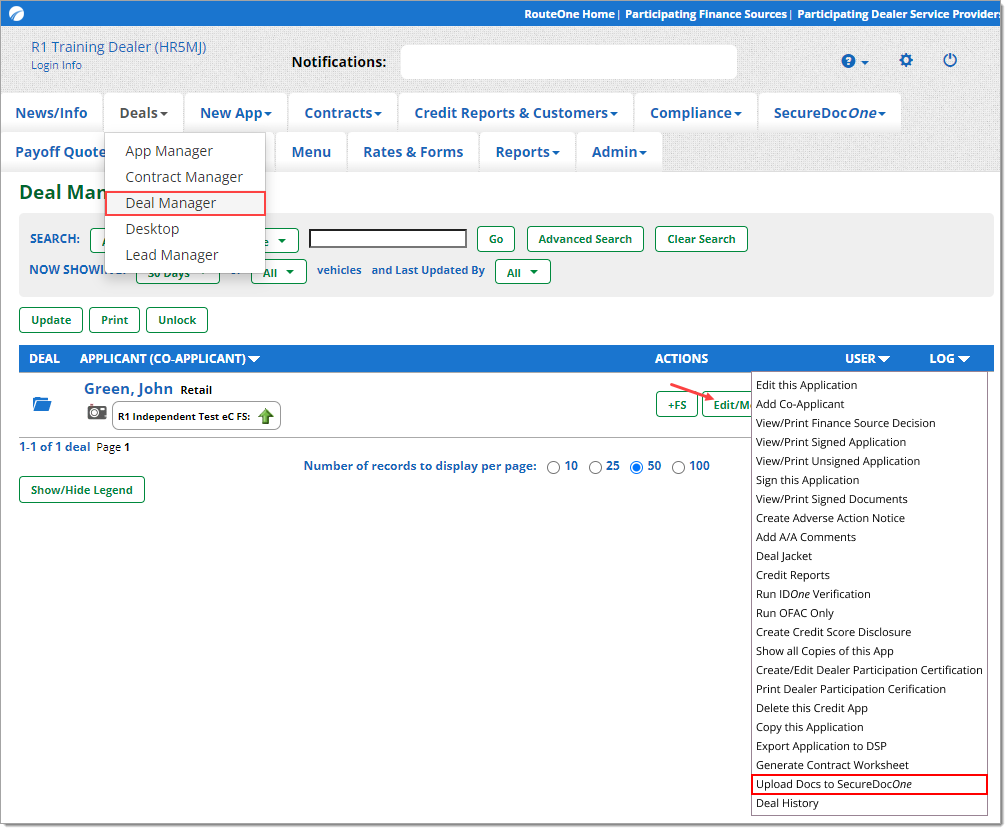
You will be navigated to the 'Upload Documents’ page.
When uploading documents from Deal Manager, available document information will already be automatically populated.
Follow the instructions, input the remaining document information, and click ‘Submit.’
ROUTEONE SUPPORT
Hours (EST)
Monday - Friday: 6:00am – Midnight
Saturday: 9am – 9pm
Can’t find what you need?
Try our search
